
+4673-025 94 69
The first Level Design work I made out of school was a level from Portal 2. It's a very easy editor to work in but it's not very diverse however. But I did my best with what it had to offer. The level is made for people who have at least basic knowledge of portal beforehand.
Since this was one of the first levels I made I wanted it to be kind of easy. I wanted to use lighting as a way of showing the player something of importance as well as making her think a bit about what could be done to achieve your goal. I'm quite happy about how it turned out even though it's hard to use negative space and color coding and other neat level design tricks.
The GIFS on this page might be flashy or sped up due to file size restrictions.
If you would like to play it you can find it here!


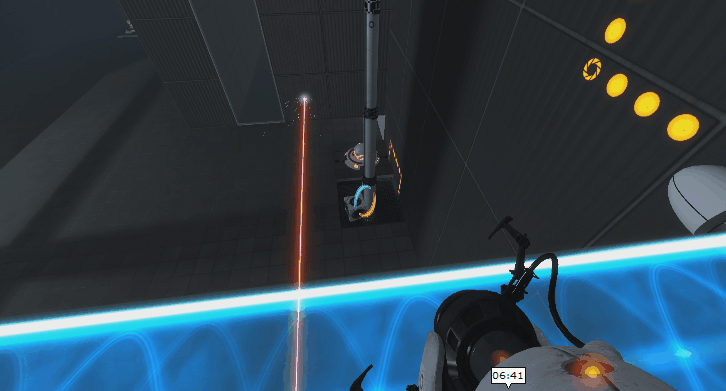
Part 1 - Getting rid of the laserwall
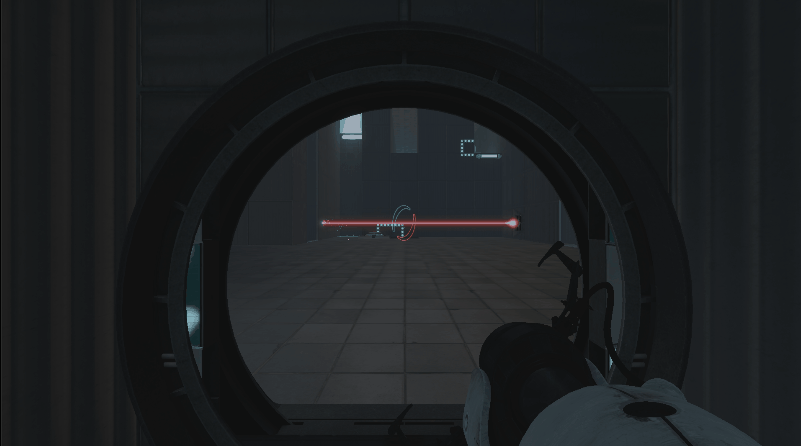
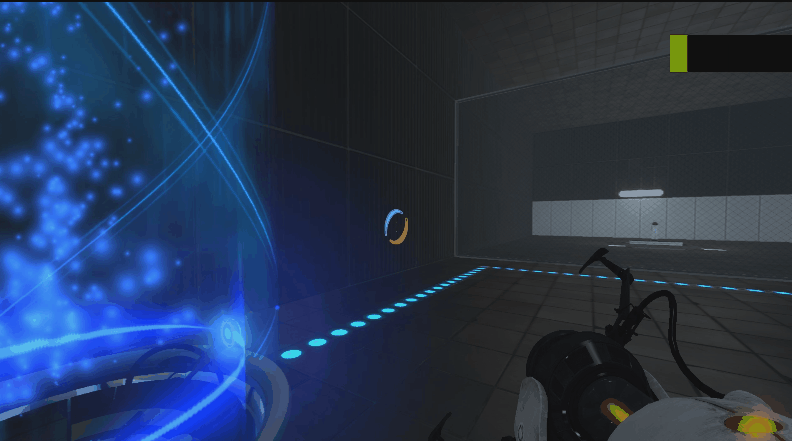
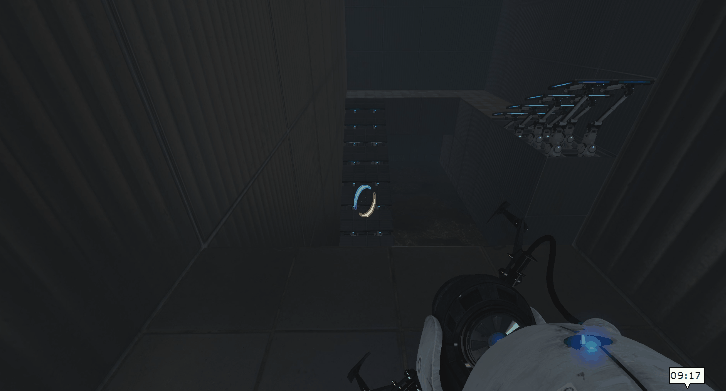
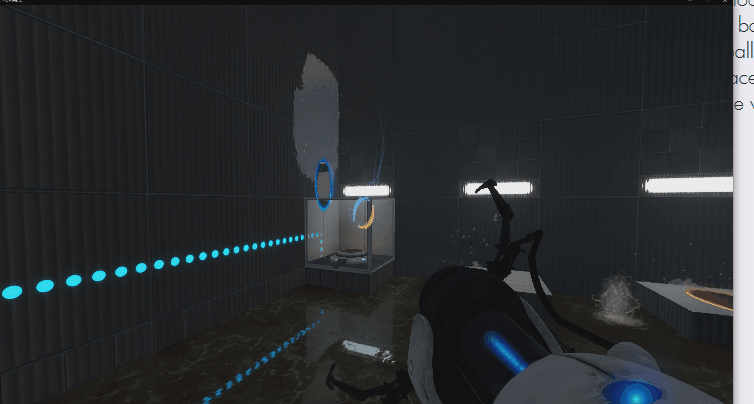
When you first enter the level you walk through a door into a big hall. You see lights infront of you highlighting the white portable wall. And then when you walk into the room, a light will turn on behind you. The thought is to make the player look and see the next point of interest, and to see the other portable wall piece next to the door you came out from.
If you take a look around you will undoubtedly see the big red button on the floor next to a wall made out of laser. The goal is to find the cube to set down on to the button. And you really only have one way to find it.


You also will find a spot to place down a ball of spherical object. However, you will not find that one untill you have passed the laser.
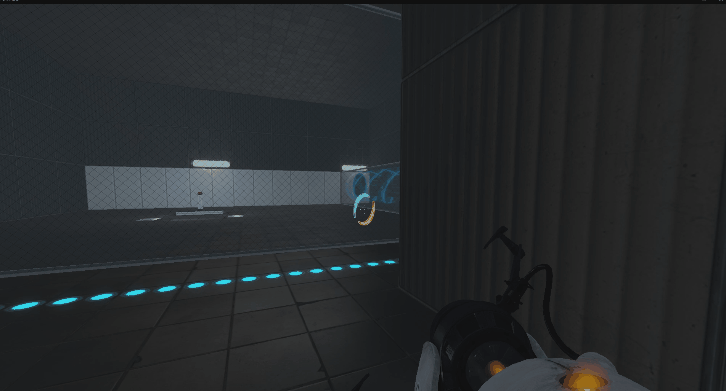
When you place portals on the first highlighted area and the one next to the entrance you can see a while portable wall infront of you across the room when looking through the portal. You have to walk out the portal a bit to shoot your next one.
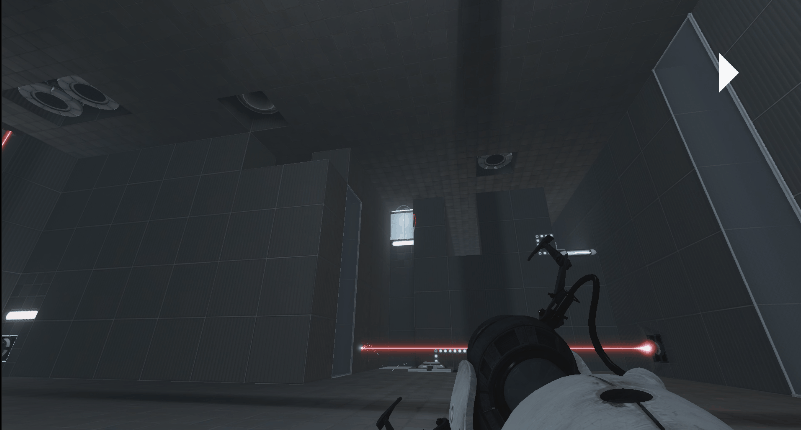

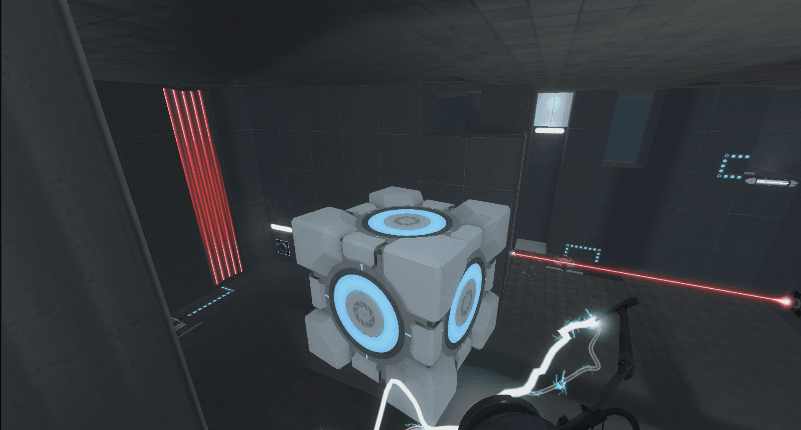
As you get up you have access to the cube and you now have to bring it up and get to the button.
Place it down on the button to get rid of the laser. The button also has a trail that goes from it to the laser so it's very clear that they are related somehow.
Part 2 - Finding the ball, press the button

When you walk into the next area you have a deadly pit of liquid that you have to get across.
Once you have crossed it you will see a blue gravity beam that will pull you towards the roof that acts as an elevator from the bottom floor.

At the top of the "elevator" you have portable spot that you can use to extend the pushing gravity beam.

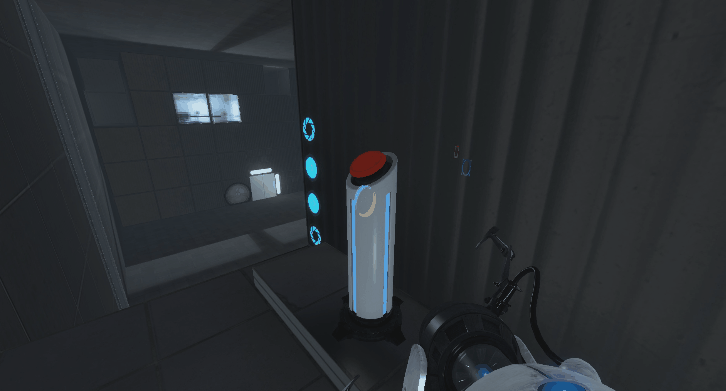
At the bottom you have 2 things to do as shown by the 2 lamps that highlights the points of interest. You have to press the button in the middle of the room and you have to get the ball to the big starting hall.
Option number one:
Ride the elevator to get into position to create a portal behind the glass. Then create a portal to acess the ball someplace else.
Option number two:
Ride the elevator to get into position to create a portal behind the glass, place the other portal at the top of the gravity beam. Then jump down and walk around the corner to the button. When you step on the button the gravity will reverse and you can make it go towards the beam. You then place your portal above your head after the ball has gone through the portal, then you catch it.
Option number three:
It's a combination of the correct way to get access to the button as well as taking the ball in a clever way as a bonus. When you have got to the button you simply jump up on it to gain some altitude and then shoot the portal over the glass to the lane where the ball is, you then go in there and grab it. Then use the portable wall above the button in option number 2 to get out.


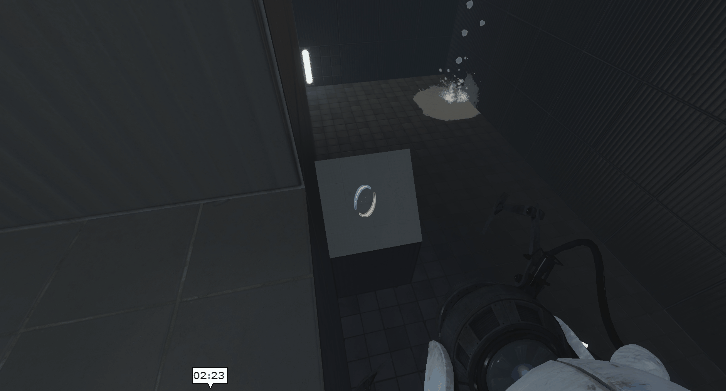
You then have to get the ball into the starting hall and into that slot that fits a ball.
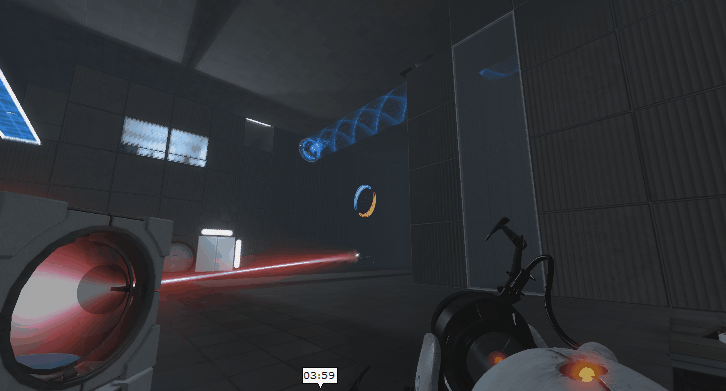
When entering the main hall again you will see another gravity beam. This is the result you pressing the button on the bottom floor. This one is very important for you to get to the last stage of the level.
You can use the ball as protection when walking through the laser, or you can just crouch under it. The elevator only goes up /stays up as long as the ball is on the button. If you fall down you can just remove the ball to get it to come down again.

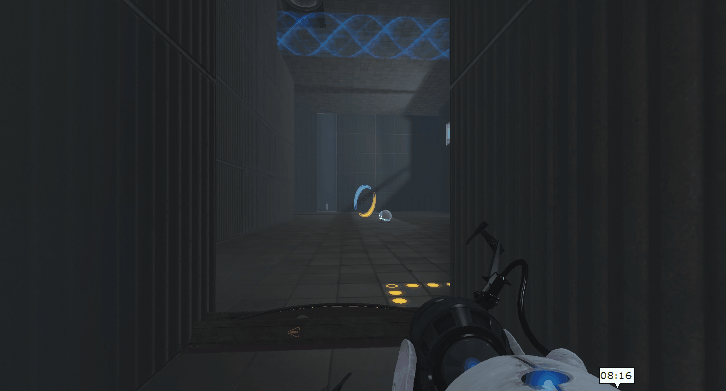
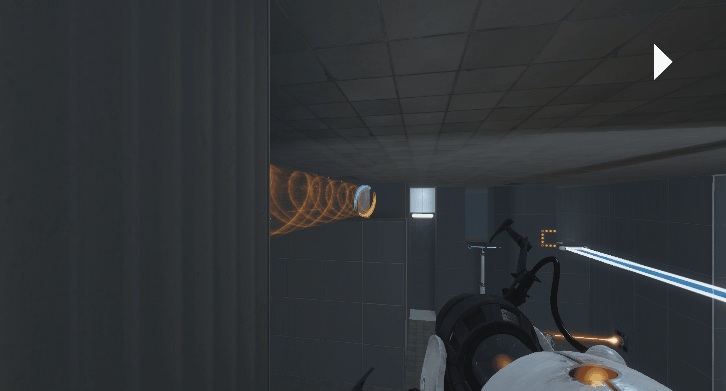
After you have taken the elevator you come into a small room where you have to jump down on a blue surface. When you do so you will discover that blue surfaces makes things bounce if you did not know that already. You then follow the only path around to jump up to another button.
Part 3 - Get to part 4?
When pressing the button a bridge will spawn that will take you to a room with another point of interest. In this room there is white liquid pouring from a source. This liquid makes portable surface if it hits unportable surfaces.
Here you need to use the slope in order to get the liquid next to the platform from where you jumped down. I made sure that you shoot the slope from the ground as well so you wont get stuck.
Then you'll find a button which will spawn white liquid into the gravity beam. That liqiud will make it into the fourth and last part of the level. The button will also spawn 3 boxes that can redirect lasers.
You will then once again make your way into the main hall. Make use of the white liquid in order to make a portal in a good spot.
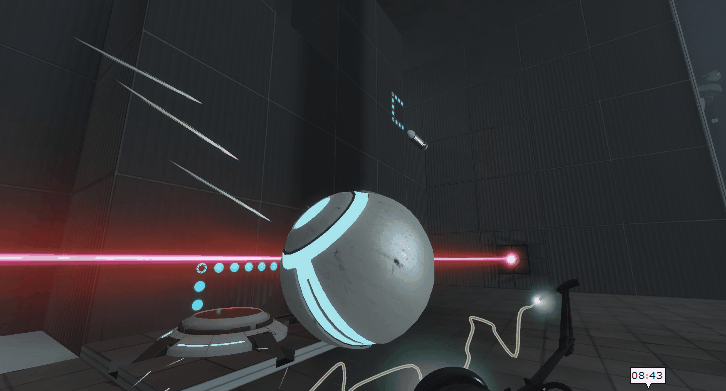
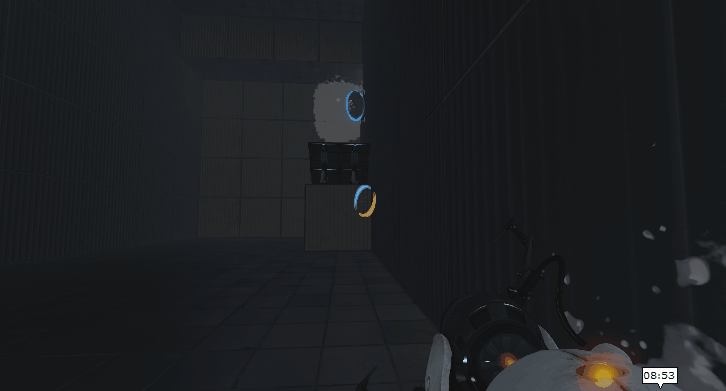
As you go down you need to line up the lazor to hit a spot on the wall next to the first laser wall you got rid of. But to get the box to redirect the laser you need to be at the same height that means you need to stack boxes on top of eachother.
Since you only got 3 boxes for pressing the button you will have to repurpose your first cube that you picked up and place that at the bottom since the third cube is suppose to redirect the laser.
As the laser hits the intended target on the wall. The gravity beam was reversed that lets you get to the 4th and last area as long as you can figure out how to use it.

Getting up where the first cube was you can see where the white liquid went when you hit the button. It turned into a portable area making you able to extend the gravity beam and use it to move into the next area.
Part 4 - The Finale
The second to last room require some trial and error and there are multiple ways of doing this as well but some of them are very unreliable strategies.

But the best way to do this is to make both platforms portable, then make the white liquid come and fly back and fourth between the portals. Tilting the platform and shoot a portal again when the liquid is on its way back so it hits the wall. From there balance the ball back and forth until it loses it's speed and place the portal on the new portal spot on the wall.
Or you could do something like this. There are multiple ways of doing this, especially with the the white liquid behaving as it does it can create some fun alternatives.
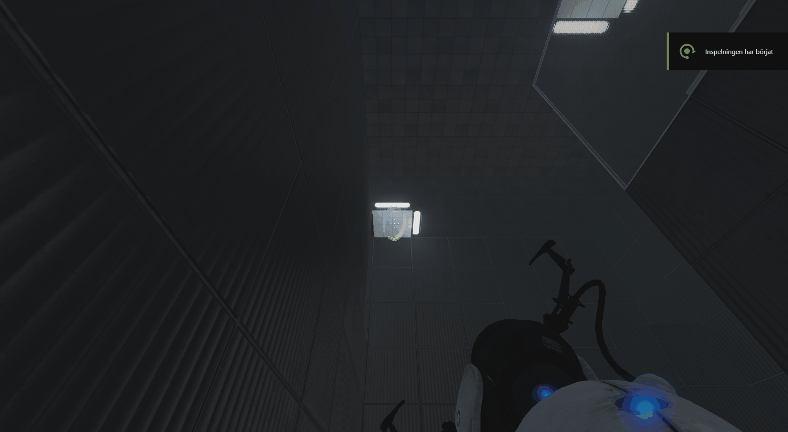
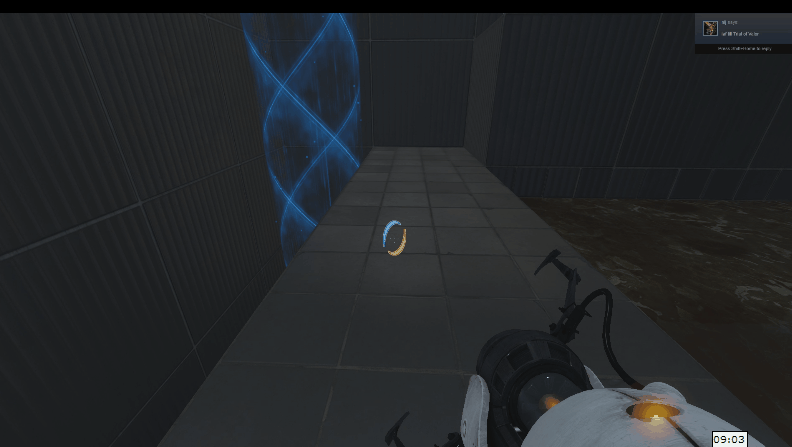
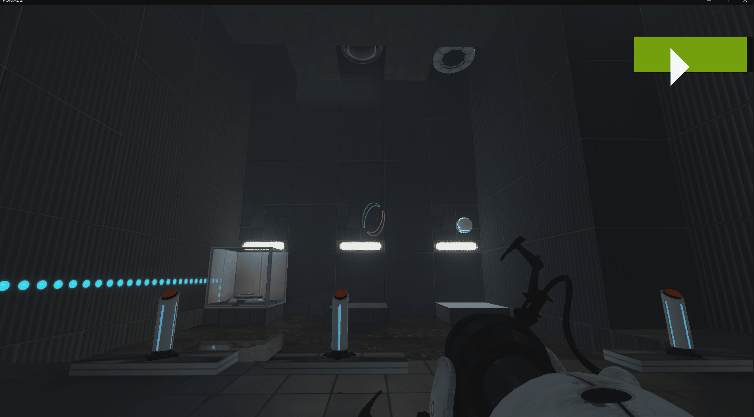
This next area is the final area which is very straight forward. You can use your teleport to either make the cube come to you after you have used the jumping pad or take it with you. I've highlighted the portable area with lights as usual.